How to Use FreeCAD with OpenCode and MCP
Introduction
FreeCAD is undoubtedly one of the most powerful parametric CAD applications out there, but sometimes building a model from scratch with it can involve a lot of repetitive work, searching for features online, and a bunch of undos... a lot of them!
You select a workbench, create a document, add sketches, apply constraints, create features, inspect the tree, and repeat the process until the result is correct. A bit cumbersome, no?
But what if you could describe the part you want to build and let a coding agent help you create it inside FreeCAD just like you do with code?
That would be extremely cool, don't you think?
Well, you're definitely in the right place, as this is exactly what we're going to explain in this guide.
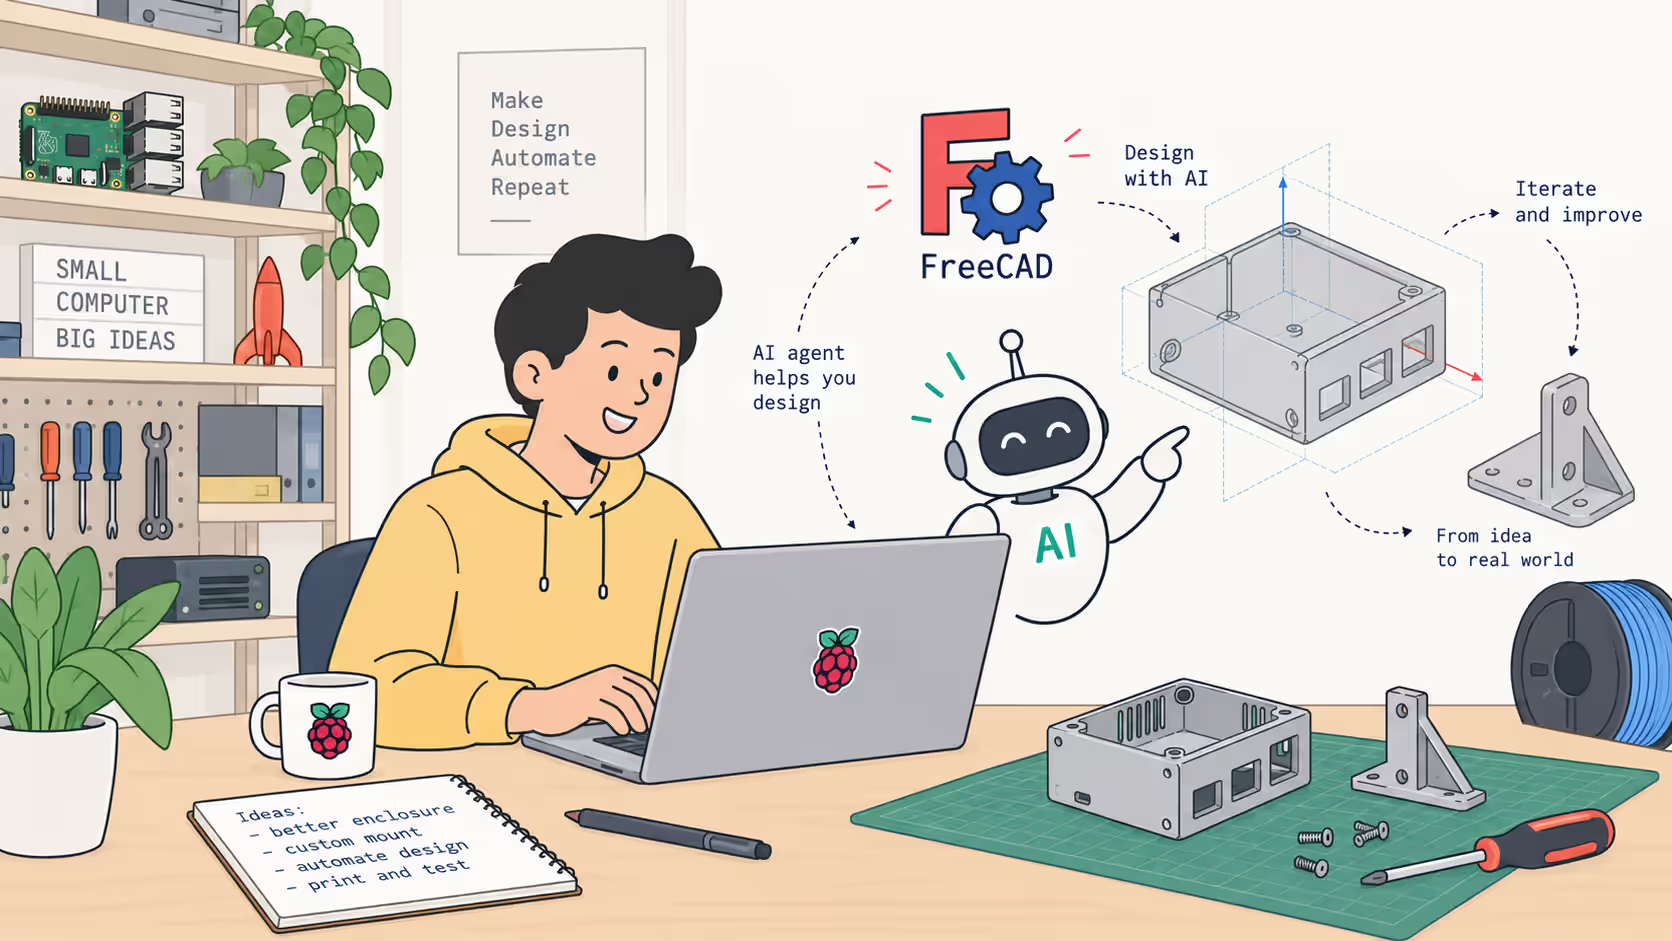
That is the idea behind the FreeCAD MCP server, an open-source project that lets you connect FreeCAD to an MCP-compatible AI client, so we can control it directly through natural-language prompts!
The goal is not to replace CAD knowledge or blindly accept generated geometry, but to make the human-machine interaction more conversational and programmable. We can ask the agent to create a document, generate a simple part, inspect the object tree, change a dimension, or explain why a feature failed, just like we would do with a human being!
What We Need
First, let's start by listing everything we need for this little project:
- A recent FreeCAD installation.
- Python and uv installed so OpenCode can launch the MCP server.
- OpenCode installed and configured with an AI provider.
- The neka-nat FreeCAD MCP repository.
- A basic understanding of the FreeCAD interface and parametric modeling.
The easiest arrangement for this project is to run FreeCAD and OpenCode on the same machine. In that setup, the MCP server can use the default local connection, and we don't need to expose FreeCAD to the network or edit complex configurations.
Why FreeCAD
Okay, but why FreeCAD instead of another popular 3D CAD solution?
I decided to use FreeCAD simply because it's fully open-source and completely free, without obscure licensing rules or weird company headcount policies. Do you want to create a 3D project for yourself, your family, or your million-employee company? No problem, no license needed!
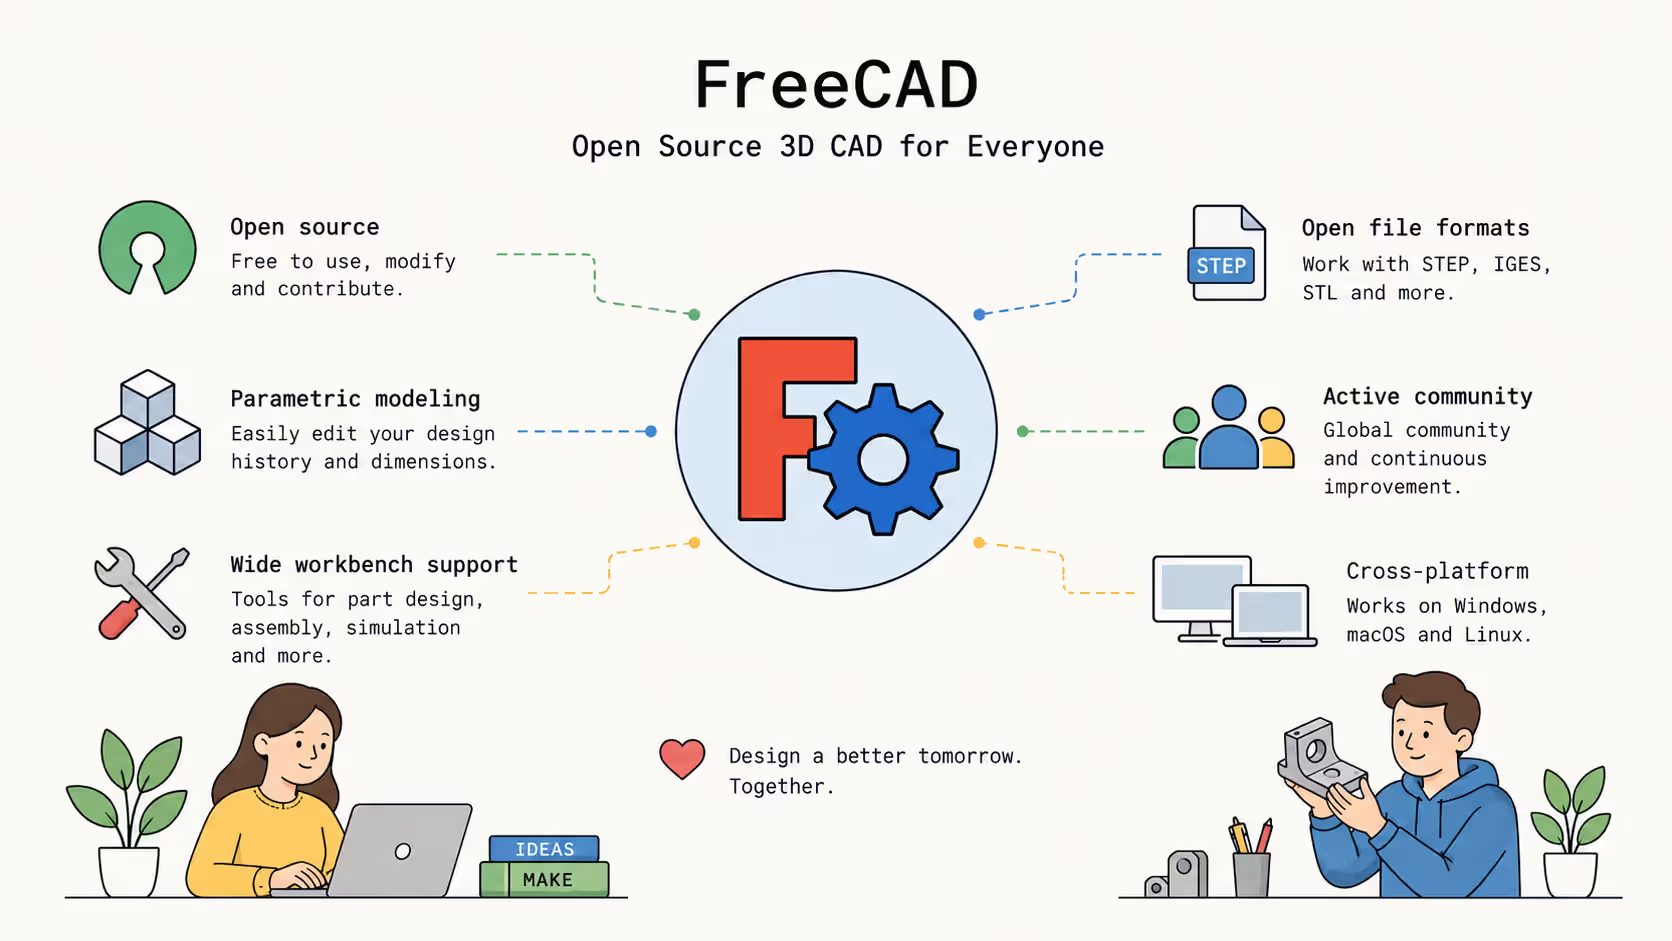
FreeCAD gives us all the tools we need to create precise parts, assemblies, technical drawings, and more while keeping dimensions, sketches, and relationships editable.
Unlike a simple drawing program, FreeCAD remembers how the model was built. If we change the length of a sketch, the position of a hole, or the thickness of a feature, the rest of the model can update according to those relationships instead of forcing us to redraw everything manually!
FreeCAD organizes its tools into different workbenches, so we can choose only the set of features that makes sense for the task at hand, making the creation process much easier and more streamlined.
Another very cool feature of FreeCAD is that its behavior can be extended through addons and scripts, making it the perfect choice for experimenting with an AI coding agent while still keeping control of the design and the files we create.
Why OpenCode
For the agent part, I decided to use OpenCode.
OpenCode is a very popular coding agent, and given its open-source nature, it fits perfectly with FreeCAD.
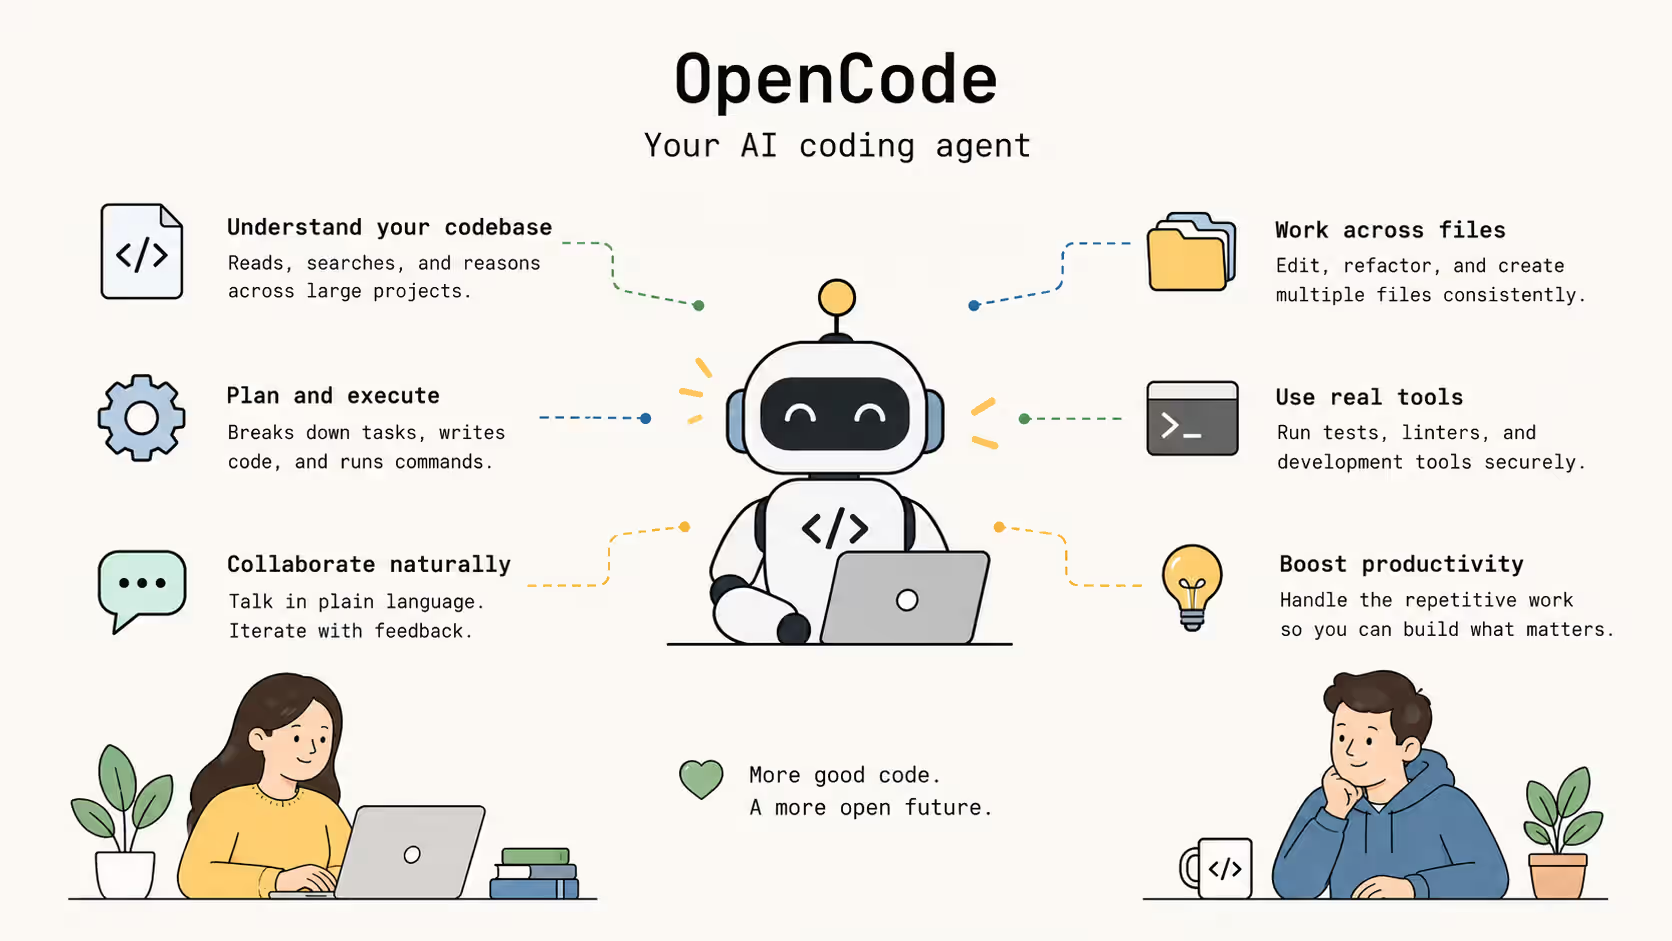
With the available models, it can understand natural-language requests, plan a sequence of actions, and use connected tools to help complete a task. You can use OpenCode with your current favourite LLM or AI subscription, such as GitHub Copilot, or connect it to an external API-based platform like OpenRouter.
Instead of treating the terminal as a place where we must type every command perfectly, we can describe what we want to accomplish and let the agent help us choose the next steps.
In our specific case, OpenCode gives us a conversational way to ask FreeCAD to create documents, build models, inspect objects, and clearly explain how it accomplished those objectives.
We can describe the result we want in plain language, then review the agent's work and ask for a specific change when something needs correcting. OpenCode can also report tool responses back to us, which means we can ask it to check the document tree, verify dimensions, or take a screenshot before making another decision.
Because it is open-source, we can inspect its project, configure it locally, and connect it to tools such as the FreeCAD MCP server instead of relying only on a closed, fixed workflow.
Why use an MCP server?
The Model Context Protocol, or MCP for short, gives an AI client a standard way to discover and call external tools that can provide context for LLM calls.
Instead of controlling FreeCAD through screen clicks and mouse movements, OpenCode can call the tools exposed by the FreeCAD MCP server directly, enabling it to control the CAD software through an AI-friendly API.
The FreeCAD MCP project we'll use in this guide provides tools for tasks such as these:
- Creating and opening FreeCAD documents.
- Creating, editing, and deleting FreeCAD objects.
- Executing Python code inside FreeCAD.
- Inspecting objects and the document tree.
- Requesting a screenshot of the current view.
- Inserting parts from the FreeCAD parts library.
This gives the agent a useful feedback loop. It can make a change, inspect the result, and adjust its next action instead of only writing code that we have to paste manually. Pretty useful, right?
1. Download the FreeCAD MCP
Okay, the first thing we're going to do is download the official repository created by the amazing neka-nat.
To do that, open a terminal, move to a directory of your choice, and run the following command:
git clone https://github.com/neka-nat/freecad-mcp.git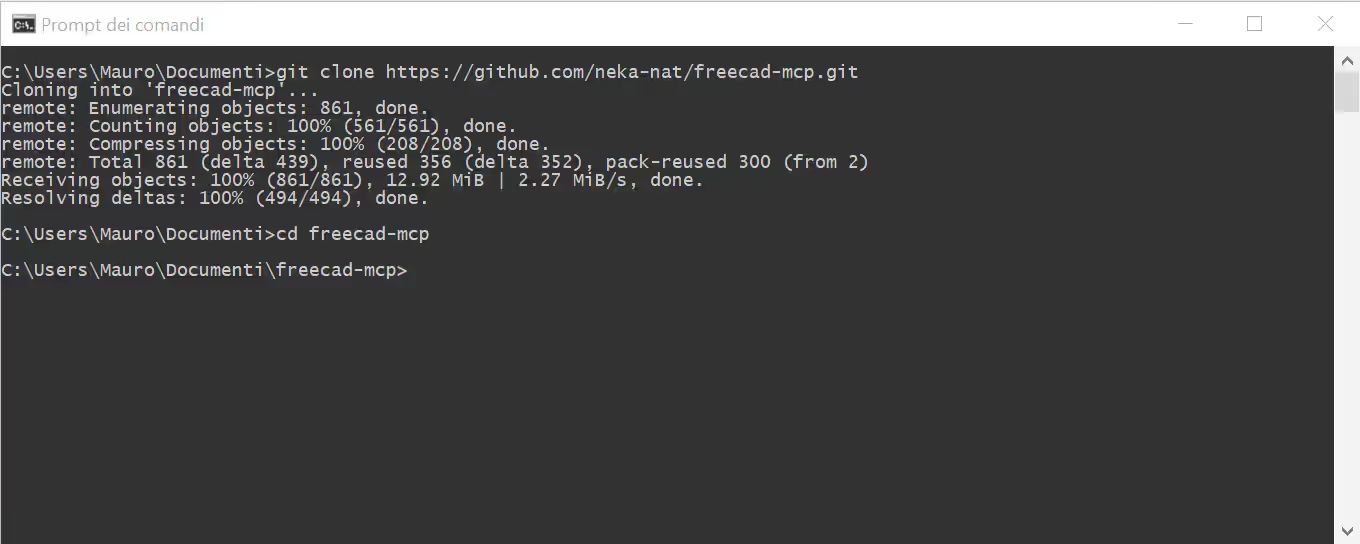
The repository contains both the Python MCP server and the FreeCAD addon. Keep the repository in a stable location because OpenCode will use its path when it starts the server.
On Windows, I suggest keeping it inside your Documents folder. For example, you could use:
C:\Users\YourName\Documents\freecad-mcp
If you use a different location, don't worry. We just need to replace the example path in the OpenCode configuration later in this guide.
2. Install the FreeCAD addon
The MCP server also needs an addon installed in FreeCAD. The official repository contains everything we need in the addon/FreeCADMCP directory.
On Windows, FreeCAD 1.1 uses the following version-specific addon directory:
C:\Users\YourName\AppData\Roaming\FreeCAD\v1-1\Mod\FreeCADMCP
To install the addon, open the cloned repository and copy the FreeCADMCP folder from addon.
Then paste it into the following FreeCAD folder. Create the Mod folder if it does not exist yet:
C:\Users\YourName\AppData\Roaming\FreeCAD\v1-1\Mod
In short, copy the following folder:
C:\Users\YourName\Documents\freecad-mcp\addon\FreeCADMCP
into this folder:
C:\Users\YourName\AppData\Roaming\FreeCAD\v1-1\Mod
Older FreeCAD versions may use the C:\Users\YourName\AppData\Roaming\FreeCAD\Mod folder for addons. Use the directory that matches the version-specific folder created by your FreeCAD installation.
After copying the addon, restart FreeCAD if it was already open. The repository also documents addon locations for Linux and macOS if you're using another operating system.
Select the MCP Addon workbench
After restarting FreeCAD, open the workbench selector and choose MCP Addon. We should now see the FreeCAD MCP toolbar or menu.
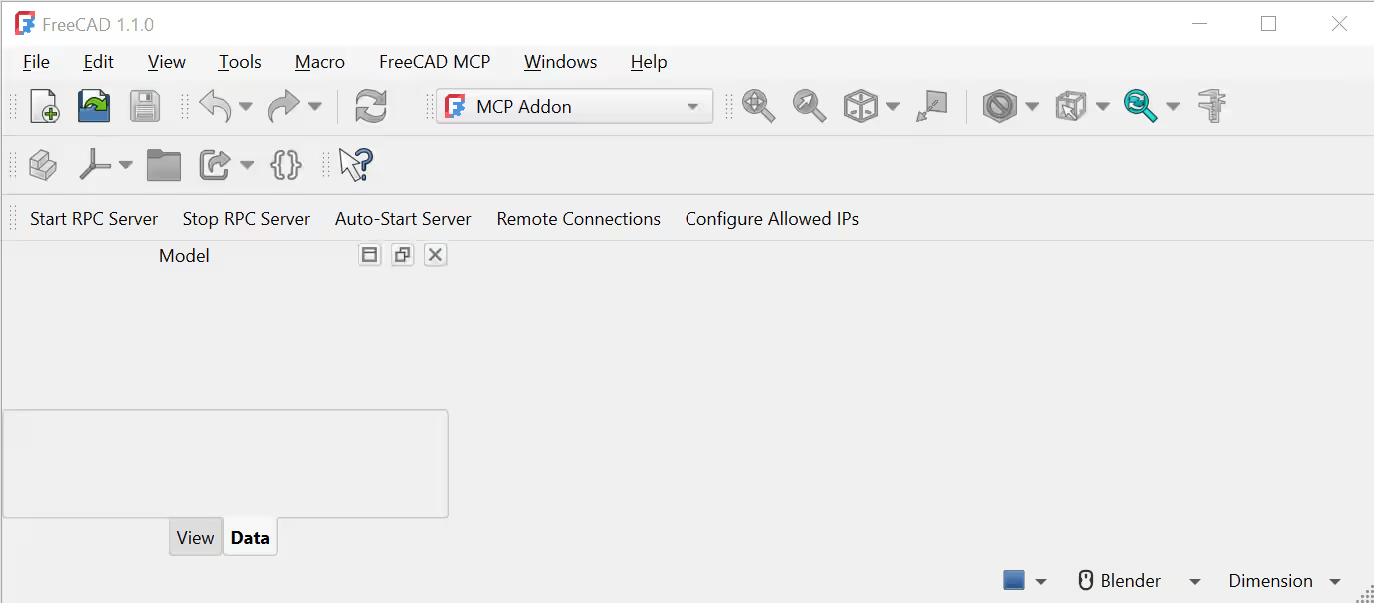
Click Start RPC Server to start the local bridge. The MCP server launched by OpenCode will use this bridge to communicate with FreeCAD.
The RPC server normally needs to be started each time FreeCAD opens. If you want it to start automatically, open the FreeCAD MCP menu and enable Auto-Start Server. The setting is saved by the addon and persists across sessions.
3. Install OpenCode
The next step is to install OpenCode.
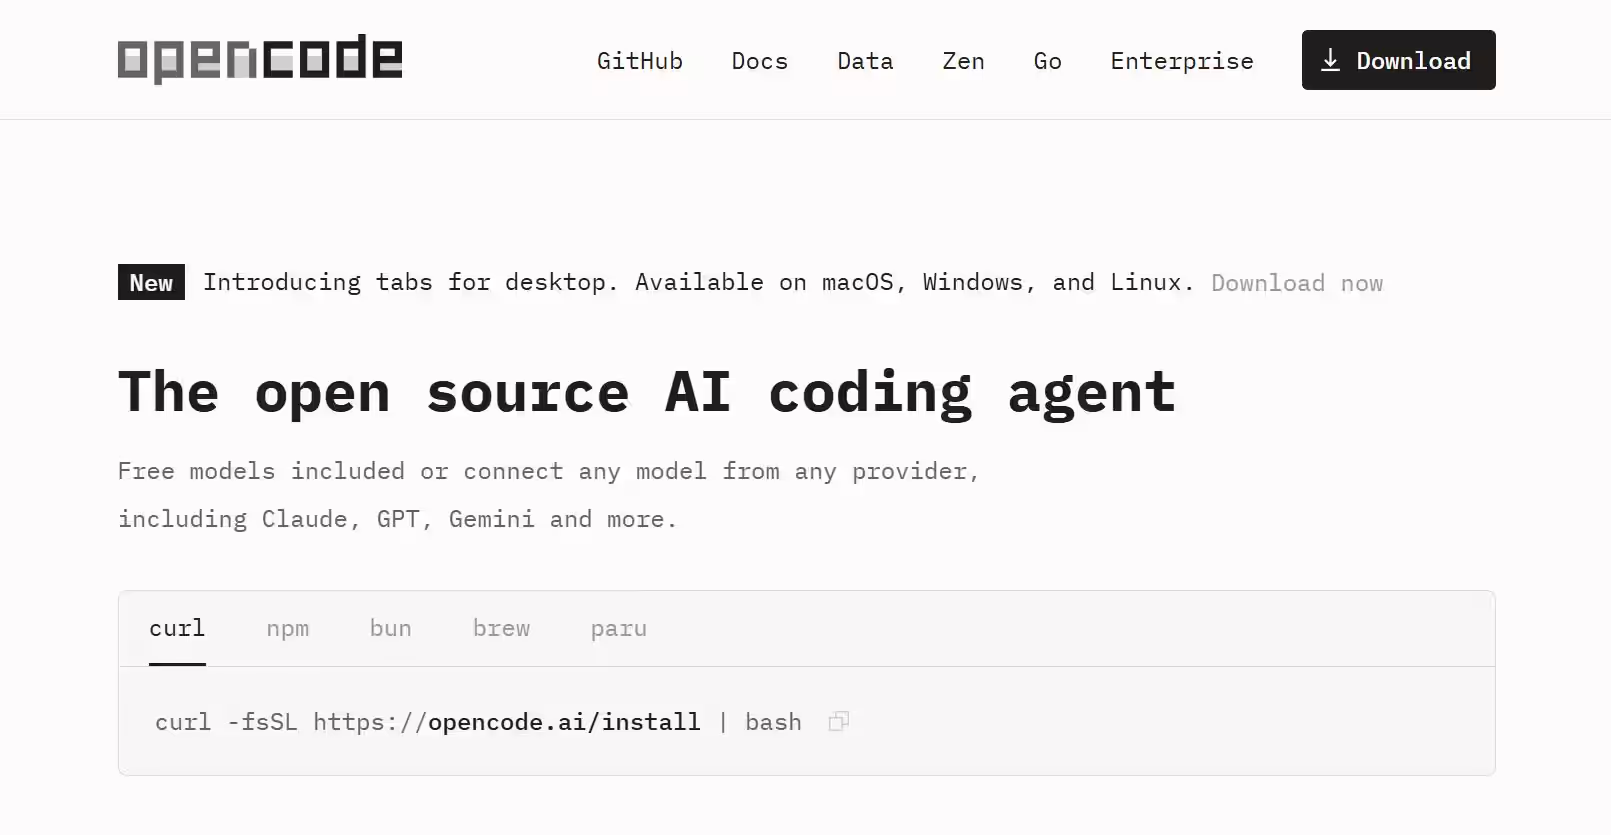
We can install OpenCode using the official installer with the following Bash command:
curl -fsSL https://opencode.ai/install | bashIf, like me, you prefer using npm, you can use the following command instead:
npm i -g opencode-aiAfter the installation finishes, open a new terminal so the opencode command is available in your PATH. Let's check that it works:
opencode --version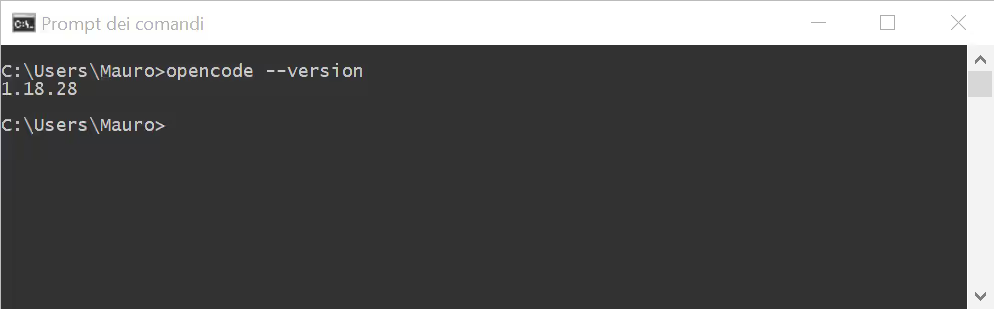
You will also need to configure an AI provider before OpenCode can act as a coding agent. If this is your first OpenCode installation, follow the OpenCode documentation for the provider setup.
4. Configure OpenCode
OpenCode reads its project configuration from an opencode.json or opencode.jsonc file. We can place this file in the root of a project or use the global OpenCode configuration if we want FreeCAD to be available everywhere.
On Windows, the global configuration file is usually located here:
C:\Users\YourName\.config\opencode\opencode.json
If the directory or file does not exist yet, create it before adding the configuration.
Now create or edit the OpenCode configuration and add the FreeCAD MCP server under the mcp key as shown below:
{
  "$schema": "https://opencode.ai/config.json",
  "mcp": {
    "freecad": {
      "type": "local",
      "command": [
        "uv",
        "--directory",
        "C:\\Users\\YourName\\Documents\\freecad-mcp",
        "run",
        "freecad-mcp"
      ],
      "enabled": true
    }
  }
}
Replace C:\\Users\\YourName\\Documents\\freecad-mcp with the actual path to your clone. JSON paths use escaped backslashes, so a Windows path such as C:\Users\YourName\Documents\freecad-mcp must be written as C:\\Users\\YourName\\Documents\\freecad-mcp inside the JSON file.
5. Start OpenCode
Before launching OpenCode, let's confirm that FreeCAD is open, the MCP Addon workbench is selected, and the RPC server is running.
If everything looks good, start OpenCode from the directory containing the configuration:
opencodeOpenCode should discover the freecad MCP server during startup. If the server does not appear, check the path in opencode.json, confirm that uv is available in your PATH, and inspect the OpenCode MCP server status.
We can also ask OpenCode whether it can access the FreeCAD MCP with a simple prompt:
Do you have access to the FreeCAD MCP?
Don't begin with a complex CAD project. A small connectivity test makes it much easier to determine whether a later problem comes from OpenCode, the MCP server, or FreeCAD itself.
If the response is positive, congratulations! OpenCode is now successfully connected to the FreeCAD MCP.
6. Create the first project
Okay, let's continue with a slightly more detailed request:
Use the freecad MCP server to create a new document named AgentTest, then list the objects in the document.
The agent should call create_document and then get_objects. Depending on the server settings, the response may also include a screenshot of the FreeCAD view.
If the request succeeds, you have confirmed the full connection chain:
- 1OpenCode can see the configured MCP server.
- 2The MCP server can connect to the FreeCAD RPC bridge.
- 3The FreeCAD addon can receive and process a request.
- 4The agent can read a result back from FreeCAD.
Great! At this point, save the document manually or ask the agent to save it using FreeCAD Python. Keeping this first test document is useful when troubleshooting later.
7. Create a simple parametric part
Once the connection works, we can ask the agent to create a small model with explicit dimensions. A simple plate with four holes is a good first project because it has clear geometry and is easy to inspect.
For example, we can use a prompt like this:
Use the freecad MCP tools to create a new document containing a parametric rectangular plate.

Requirements:
- The plate should be 100 mm long, 60 mm wide, and 8 mm thick.
- Add four through-holes with a diameter of 6 mm.
- Place the holes symmetrically, 10 mm from the nearest two edges.
- Use meaningful object names.
- Recompute the document and report the objects and final dimensions.
- Do not overwrite any existing document.
The exact implementation is up to the agent. It may create Part primitives, use a sketch and a pad, or execute FreeCAD Python that builds the shape. The important part is to state the dimensions, constraints, naming expectations, and safety boundaries clearly.
Inspect the result
After the model is created, let's ask the agent to inspect it instead of immediately requesting another feature:
Inspect the current FreeCAD document with the freecad MCP tools. List every object, its type, its dimensions, and any visible errors. Take an isometric view screenshot if available.
This is where the MCP workflow becomes more useful than one-shot code generation. We can compare the agent's report with the FreeCAD tree and viewport, then ask for a targeted correction.
For example, if the holes are not in the right place, we can say:
The plate looks correct, but the holes are not symmetric around the center. Inspect the model and move only the hole locations so the four hole centers are 10 mm from the corresponding edges. Preserve the plate thickness and hole diameter.
Use precise change requests. Asking the agent to "make it look better" gives it too much freedom and makes the result harder to review.
8. Work with FreeCAD Python
The execute_code tool lets the agent run Python inside FreeCAD. This is a really powerful feature, because FreeCAD exposes much of its modeling functionality through Python, but it also means that we should review the generated code before allowing it to make important changes.
Let's start with a safe exploratory request:
Use execute_code only to inspect the active document. Return the document name and a list of object names and types. Do not create, delete, or modify anything.
For a controlled modeling task, ask the agent to explain the intended operations first:
Before executing code, describe the FreeCAD objects and operations you plan to use to create the plate. Wait for confirmation before modifying the document.
This extra step is useful when we're learning the API or working with a model that contains valuable design work.
Remember that FreeCAD operations can have dependencies. Deleting or changing an object may affect sketches, pads, cuts, or downstream features. A model that looks correct in one screenshot may still contain fragile or incorrect parametric relationships.
Troubleshooting
When something fails, here's a quick checklist to follow:
- If OpenCode cannot find the server, check the mcp key, server name, command array, and path in opencode.json.
- If uv fails to start, install uv and confirm that the command is available in the terminal used to launch OpenCode.
- If the server starts but FreeCAD does not respond, open FreeCAD, select the MCP Addon workbench, and start or restart the RPC server.
- If a tool reports a GUI dispatch problem, use get_rpc_status and wait for FreeCAD to return to a healthy state before sending another GUI request.
- If generated geometry is wrong, inspect the document tree and dimensions before asking the agent to make a targeted correction.
The FreeCAD MCP project warns that GUI operations cannot always be force-cancelled safely. If a GUI operation becomes stuck, sending more GUI requests can make the situation worse. Check the RPC status and restart FreeCAD when necessary.
If execute_code raises an exception while creating a FeaturePython object, inspect the new object before trying to change or delete it. A partially created object may not have the expected proxy installed.
Practical advice
An AI coding agent is most useful when we treat it as a capable collaborator whose work needs review. Give it measurable requirements, ask it to inspect the result, and keep changes small enough to undo.
For repeatable work, describe dimensions and constraints rather than only the visual appearance. "Create a 100 mm by 60 mm plate with four 6 mm holes" is much more useful than "make a small mounting plate."
It is also a good habit to save versions of our FreeCAD files before larger edits. Parametric models can contain hidden dependencies, and an apparently small change can invalidate a later feature.
Finally, remember that generated CAD is not automatically safe to manufacture. Check the units, tolerances, wall thicknesses, fastener clearances, material assumptions, and export settings yourself. The agent can accelerate the design process, but engineering responsibility remains with the person approving the model.
Conclusion
We're finally at the end of this journey! FreeCAD MCP makes it possible to connect a running FreeCAD session to an MCP-compatible agent. With OpenCode, we can describe a modeling task in natural language, let the agent create or modify FreeCAD objects, inspect the result, and iterate with targeted instructions.
Here's a quick recap of what we've done so far:
- 1Clone the FreeCAD MCP repository.
- 2Install the FreeCADMCP addon and restart FreeCAD.
- 3Start the FreeCAD RPC server.
- 4Add the FreeCAD MCP server to OpenCode's configuration.
- 5Test the connection with a new document and object listing.
- 6Create a small, measurable part and inspect it carefully.
For more advanced examples and the latest installation details, see the FreeCAD MCP repository and the OpenCode MCP documentation.
If your connection test worked and the agent created your first part, congratulations! You now have a conversational bridge between OpenCode and FreeCAD, and you can start experimenting with your own parametric models!
Remember to keep FreeCAD, the FreeCAD MCP repository, OpenCode, and uv up to date so the setup continues to work reliably. Before making important changes, save a copy of your model and always review generated geometry before using it in a real project.
If you enjoy practical, open-source projects like this one, you may also want to explore our guide to setting up Pi-hole and Mullvad on a Raspberry Pi for a network-wide privacy setup, or our guide to using the Mullvad VPN mobile app when you want to protect individual devices while you are away from home!

So, we're done for today! I hope you enjoyed this guide, and I hope to see you in another one soon!
Frequently asked questions
Find quick answers to the most common questions about this topic.
FreeCAD MCP connects an MCP-compatible coding agent to FreeCAD. It uses the FreeCADMCP addon and a small MCP server so the agent can create documents, execute FreeCAD Python code, inspect objects, and request views of the model.
Yes. OpenCode can start the FreeCAD MCP server as a local MCP process. The server communicates with the FreeCAD addon, which must be running in an open FreeCAD session.
No, but basic FreeCAD and Python knowledge is useful. An agent can write much of the code, while your understanding of documents, bodies, sketches, constraints, and measurements helps you review the result.
Run it on the same computer as FreeCAD for the simplest setup. The FreeCAD MCP project also supports remote connections when the addon is configured to allow the agent computer's IP address or subnet.
It can create useful parametric models and accelerate repetitive work, but every generated model still needs human review. Check dimensions, constraints, topology, clearances, manufacturability, and the saved file before using it for a real project.

Author
Help me keep building!
Support my open-source work and help cover hosting, continuous security updates, and the tools that keep these projects moving. You can support me on Patreon or Ko-fi, with a recurring monthly contribution or a one-time donation. Every little bit helps, and I appreciate your support in keeping these projects alive and thriving!